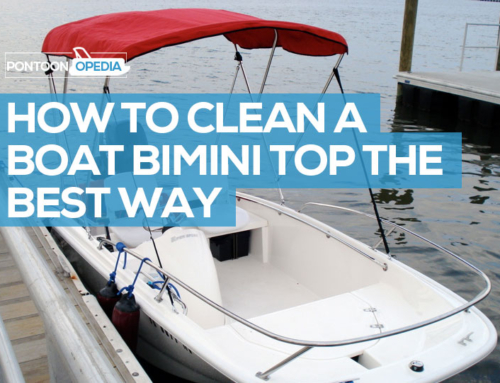
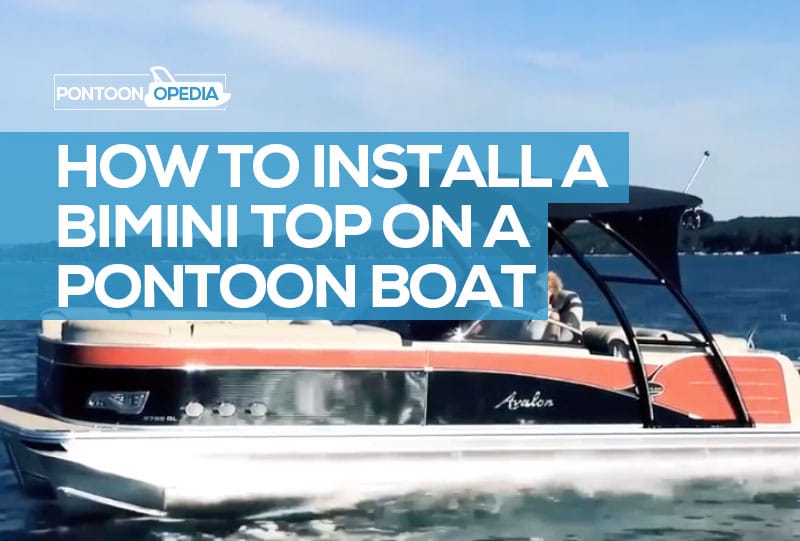
It’s great to unwind on the water on a hot day. But if you’ve got no cover or Bimini shade, you’re going be coming home a nice shade of red. A Bimini or canopy for your pontoon boat is an absolute necessity. They will keep the blazing sun from burning your skin; you can’t just rely only on sun screen to keep you safe.
A good quality canopy can also help to protect you boat from sun damage and will keep everything relatively dry if you get caught out in the rain. They can be easily stowed when not needed.
You’ve two choices here.
You can either go and buy a Bimini top or canopy (here are the after-market Biminis I recommend), or you can build a canopy for your pontoon boat. This guide is purely going to give some installation tips.
If you would like to your own Bimini canopy, but have been reluctant to start the project, the notes below should help. They will walk you through the installation process in a step by step fashion; from deciding on the type of canopy to use all the way thorough to purchasing the relevant materials and finally installing the canopy.
How to install a Bimini on a pontoon boat in 5 steps
The steps below should give you enough detail so you have the confidence to embark on the task yourself. Biminis can be easily installed and when not needed they can be folded away in a few seconds.
1. Select the correct size Bimini
Before we get started let’s define a few things; depending on the size of your boat you will need different size of Bimini. In most cases a 3 bow Bimini top will be sufficient to cover the majority of the deck. A 4 bow Bimini is used for larger boats.
The number of bows refers to how many structural members there are on each side of the frame, i.e. how many sections are supporting the cover.
Ideally you should look at getting an aluminum frame as this will make it easier to install and will generally be lighter making it easier to handle.
If you expect your boat to be exposed to salt water, then stainless steel is a better option.
1. Select the canvas material
Once you have decided on the size of the Bimini required you will need to select the canvas material, make sure that you select a material that is UV resistant and water resistant.
A marine grade polyester is a good option but there are many different types of materials that can be used depending on your budget and requirements.
Choosing the color is more of a styling consideration, some colors do retain heat more than others but at the end of the day the differences are minimal.
3. Assemble the Bimini
Lay all the required materials out on the ground and make sure you have the required components and fasteners; a single missing fastener can ruin a whole day’s work.
Lay the canvas with the underside facing up on an open area with nothing underneath it that could possible damage the material.
Depending on the specific instructions in the manufacturer’s manual, begin assembling all the frame sections and slide them through the loops in the material.
The frame sections can either be like tent frames in the sense that they don’t require any specific tools to fit together, they should simply snap together.
If not, then you will need a screw driver to connect all the frame pieces with screws. Once all the frames are assembled you can move onto the next step of installing the mounting brackets.
4. Install the Bimini mounts
You will need to decide where exactly you want the frame to be situated. A pontoon boat has a large deck area and you will want to cover as much of this deck with shade as possible.
To do so, grab a tape measure and measure out the length of your fully extended Bimini top, measure this length out on your boat and decide on the ideal location of the main pivot.
The pivot location Is generally exactly in the middle of the total length of the coverage. Another important point is to make sure that the Bimini top is not in the way when it is stowed away.
It is important to make sure the location of the two mounts for the pivots are directly across from each other, the last thing you want is a distorted canopy due to misaligned mounts.
The best way to make sure you don’t misalign the mounts is to measure both the mounting locations from the same fixed reference point.
Depending on the type of mounting fixture, you either need to pre-drill some holes into the existing frame work on your railings or if self-tapping screws are used you will have to get the relevant fitting for your cordless drill to drive the screw through the railing.
Regardless of the method it is a good idea to place the bracket in the required location and mark where the holes need to be. Thereafter get a center punch and punch the hole locations.
This is to stop the drill or screw from slipping when you drill. When screwing down the mounting bracket, take care not to over tighten the screws as you run the risk of stripping the threads created by the screws, especially if the railings are aluminum.
One word of caution here; beware of galvanic corrosion.
If your fasteners and railing material are dissimilar metals, you run the risk of having accelerated corrosion at these points.
To combat this, you can either coat the connections so that water cannot get on the metals and complete the galvanic reaction, or you can make sure the fasteners are the same metal as the railing metal.
5. Install the Bimini cover on the Boat
Once the pivot brackets are secured you can install the Bimini frame.
For this task you will need to enlist the help of a second pair of hands as trying to fit the frame by yourself will result in a lot of frustration – it’s definitely not a one-man job!
Install the Bimini onto the mounts with the provided fasteners, making sure that you have the correct side of the Bimini facing to the front of the boat. Once it is secured you can determine the ideal locations of the hold down straps and bow straps.
Depending on the frame you purchased you will either need to install the mounts for the straps on the frame or they may already be fixed to the frame. Install the straps onto the frame to check where they should be mounted onto the boat.
Ideally the angle of the straps should be between 30 and 60 degrees.
Mark the location for the strap eyes on either side of the boat. Due to the straps being flexible the locations of these straps aren’t really required to be directly across from each other.
Finally, lay the Bimini top down flat and drill and fasten the strap eyes to the boat. Once again, make sure that you do not over tighten the fasteners.
Bring the Bimini top up again and hook in the straps to their respective strap eyes. Tighten the straps to make sure the top is properly secured.
How to install a Bimini on a pontoon boat (video)
One of the best videos I have seen online will help you further. It shows how to install a Bimini top on a pontoon boat (a 3 bow frame).
Related questions
Below are a couple more questions and answers that you might find useful during the project.
Which material is best for a Bimini top?
When deciding on the ideal material to use for your canopy you need to take a number of factors into account. There is a fine balance between cost, UV resistance, resistance to salt water (If applicable) and weight.
The best material for the frame is anodized aluminum.
However, if you expect your boat to be exposed to salt water then stainless steel is preferable.
For the cover material you can either use a heavy woven canvas, vinyl, acrylic or treated polyester.
- Canvas – The canvas is cheap but will eventually degrade due to UV damage and is also not water resitant.
- Polyester – Treated polyester has better UV resistance and retains it’s color a lot longer and resists stretching.
- Vinyl – Vinyl covers are typically just polyester with a vinyl coating and are very popular due to their water resistance and durability. There is a risk of these covers losing their water resistance after washing and they may require a re-coating of Vinyl
- Acrylic – This is the premium type of covering as it has excellent UV resistance, fade resistance and tear resistance. They do not have very good abrasion resistance.
How to fold down a Bimini top?
Folding down a Bimini top is a very simple process, but it’s not always obvious how you have to do it.
- You will first need to unhook the front hold down straps and move the frame backwards on its pivot.
- Make sure that the material folds as neatly as possible and does not crease.
- This will ensure that the cover lasts as long as possible.
- Do not unclip the rear straps as next time someone pulls up the Bimini, they might let it fall forward by accident.
- Finally, cover the material with its storage boot.
The last word…
Once you have installed the Bimini top, you might want to accessorize it. For example, you can buy flag holders that can clamp to it and a range of gadgets.
You might also be interested in all of the pontoon boat gear I have bought and reviewed over the last few years. See what I recommend for anytime you need to replace something on your pontoon.